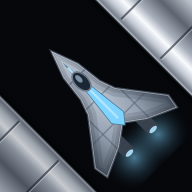
The ships you fly
Every hull in the hangar, what it costs and what it carries, and the monitors: warships berthed in the rigs that you can board and fly.
Contents
01 Hulls you can buy
Sixteen hulls, each a different shape. Every hull has a nose mount and a wing pair, and the dearer hulls add a second wing pair and room for more weapons. Each also has three upgrade ladders of its own:
- ARMOR: how much damage it takes, up to 35% more bought out.
- THRUST: how hard it accelerates and brakes (the same engines), up to half again bought out, and its top speed, up to 20% faster.
- STEER: how fast the nose comes round, up to 60% faster bought out.
Every hull has ten steps on each ladder, costing 200, 300, 450, 675 and so on, half again each time. A hull's size decides most of what it is: small hulls are fast and light, big ones slow and tough, whatever they cost. Within a size, the dearer hull is a little tougher and turns a little better. Small hulls also pull away and stop faster: a dart pushes about a third harder than a colossus.
| Hull | Price | Armor | Top speed |
|---|---|---|---|
 ScoutWhere everyone begins | Starter | 120 → 162 | 165 → 198 |
 SkiffStubby hopper | 1,280 | 131 → 177 | 160 → 192 |
 DartNeedle | 1,600 | 103 → 139 | 185 → 222 |
 VectorForward-swept | 1,950 | 132 → 178 | 162 → 194 |
 RapierCruciform | 2,300 | 119 → 161 | 175 → 210 |
 SabreTwin-boom | 2,700 | 138 → 186 | 159 → 191 |
 CutlassFlying wing; two heavy guns | 3,100 | 146 → 197 | 153 → 184 |
 GlaiveLambda wing | 3,550 | 147 → 198 | 154 → 185 |
 HalberdHammerhead; second wing pair | 4,000 | 151 → 204 | 152 → 182 |
 PikeLongest and slimmest | 4,500 | 139 → 188 | 162 → 194 |
 FalchionGull wing | 5,000 | 154 → 208 | 151 → 181 |
 ClaymoreDiamond; three special weapons | 5,550 | 164 → 221 | 143 → 172 |
 BastionA box | 6,100 | 162 → 219 | 146 → 175 |
 AegisBroad and round-nosed | 6,700 | 171 → 231 | 139 → 167 |
 TitanLong slab, notched stern | 7,350 | 172 → 232 | 139 → 167 |
 ColossusStepped arrowhead | 8,000 | 177 → 239 | 135 → 162 |
Armor and top speed are shown as stock → fully upgraded. Each hull's turn rate is on the Menus page. How many weapons a hull carries: two light guns (the Pulse, Shredder-Mini, Viper, Zapshot and Shotgun), one heavy gun (the Basilisk, Mamba, twin and forge lasers and Conductor; two from the Cutlass up), two special weapons (three from the Claymore up), and three accessories (four on the Sabre, Cutlass, Pike, Falchion and Colossus). Most hulls take either the cloak or the Amplifier: the Dart, Rapier and Glaive take the cloak; the Skiff, Vector, Halberd, Claymore, Bastion, Aegis and Titan take the Amplifier; the Scout, Sabre, Cutlass, Pike, Falchion and Colossus take both. Each hull also holds only so many mines, crawl bombs, seekers, rockets and grenades: dearer hulls usually more. You fly with whichever is lower, your QUANTITY upgrade or the hull's hold. The full list is on the Menus page.
The Halberd and every hull above it are two-stream: they fire the same rounds a one-stream hull fires, but each one carries both streams and does 1.5 times the damage, not double. A two-stream round is drawn thicker, and it hits a ship a little wider of its line, as the pair of rounds it replaced used to. The ship page shows it as 2 — 150% DAMAGE. The mount decides where the rounds come from, never how many: on the nose up the centerline, on a wing from the wingtips. A Viper fires 4 rounds a pull on any hull, heavier on a two-stream one. The Zapshot and the conductor fire the same on any hull, so they gain nothing from a second stream.
02 Monitors
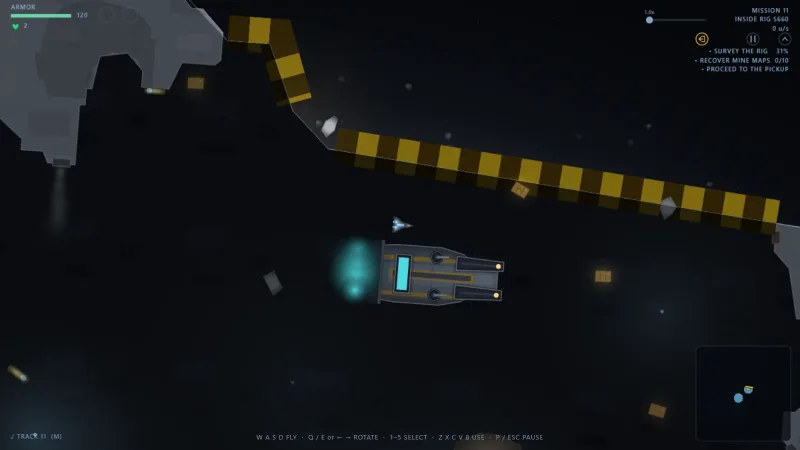
Warships berthed inside some rigs, or parked at a dock in open space, which you can take. Come alongside gently and press the action button to board. While you're aboard, anything that hits you hits the monitor: your own ship's armor and shield sit untouched until you step out.
- Its turrets look after themselves. Its bow guns fire on your trigger: three seconds of fire, then four of rest.
- The Barge thrusts along its nose only and turns slowly. The Miro moves in any direction. The Zaha carries a scatter gun, a beam turret and a minigun bow.
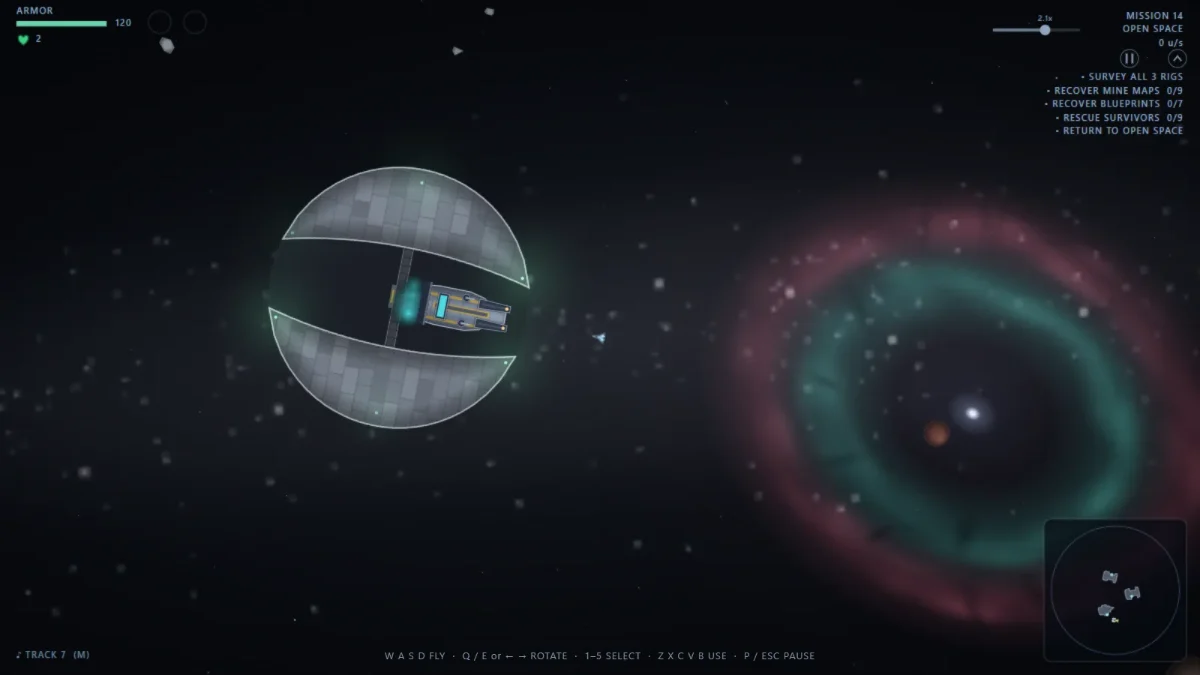
- A monitor dock is a station adrift in open space: two crescents back to back, holding one or two monitors parked nose-out toward the openings. Mission 14 always has one, with a Barge, and about 3 in 10 later missions do. A mission can carry up to three monitors, one in a rig and two at a dock. The dock drifts and turns, and a monitor parked there rides with it. Rock breaks on its rim, and your turrets bolt to its plating. It takes 1,200 armor of fire before it goes up.
- Badly damaged, a monitor is disabled: its engines die but its guns still work, and you can still step out. You can't board a disabled one.
- If it's destroyed with you aboard, you're thrown clear and take 35 damage.
- It's borrowed, not yours. It stays behind when the mission ends, and you can't board the pickup while flying it.
- The edge of the mission stops it as it stops your scout, and it won't turn if the turn would swing its bow or stern into a wall.
- A map, blueprint or crystal lying wholly under a parked monitor shows as an outline over the hull, once you've spotted it.