 Bonus
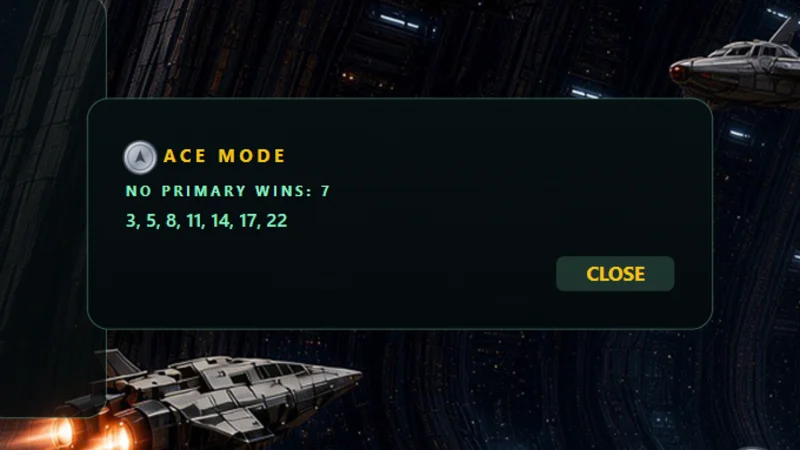
Ace Mode
Go back to a mission you've already won and win it again with no primary gun fitted, using only special
weapons, allies, your hull and the rig itself. A new mission needs a primary gun, so Ace Mode is always a
replay, and the mission is built without the jobs only a gun can do: no rig to demolish, no crystal to
deliver and no Corp capital ship to destroy. Nothing you need is left behind plating: a rescue hall or a
civilian ship that would be walled in has a way opened to it, and a sample you could only reach by cutting
is left out.
A rig can still shut its doors on you, or destroy itself. When the doors close, its widest escape passage
opens with them, and if you can't reach that from where you are, a way out opens from you as well. In an
artifact hunt, ram the ship carrying the stone to knock it loose.
From mission 3 on, the first time you Ace a mission pays a 125-credit ACE MODE bonus, once
per mission. Each mission you win that way goes on your ACE MODE badge on the cover, beside
your pilot name. If you lose a ship, you can only come back in another one without a primary gun.
 Monitors
Turn a monitor into a bomb
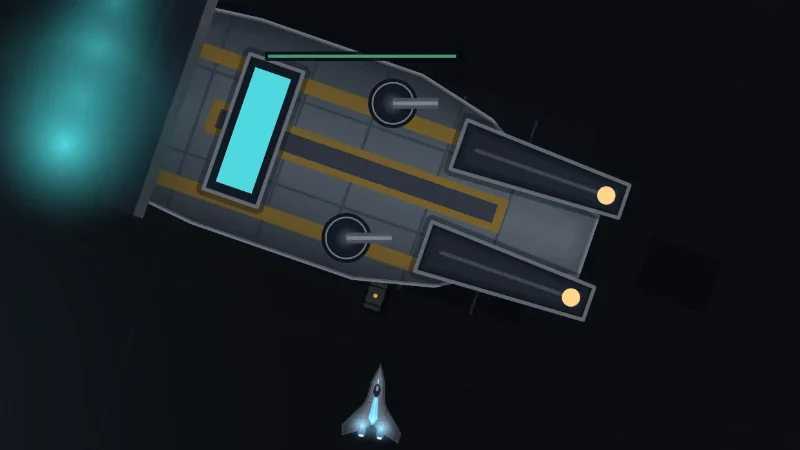
Throw a sticky bomb onto a monitor's hull, then go aboard. The bomb stays put. Fly it into the middle of
the Corp, step out, get clear and set the bomb off. A fresh monitor will shrug it off, so bring in one
that's already badly damaged. A monitor going up is one of the biggest blasts in the game.
 Hostiles
Leave the kamikaze alone
A kamikaze arms itself when it drops to half armor, then stops fighting and comes straight at you. Either
kill it in one go or ignore it. From mission 18 every second kamikaze is a KAMIKAZE II: nearly three times
the armor and a bigger blast, and it commits once it's down to 65%. In open space it's faster than you, so
don't count on outrunning it.
 Flying
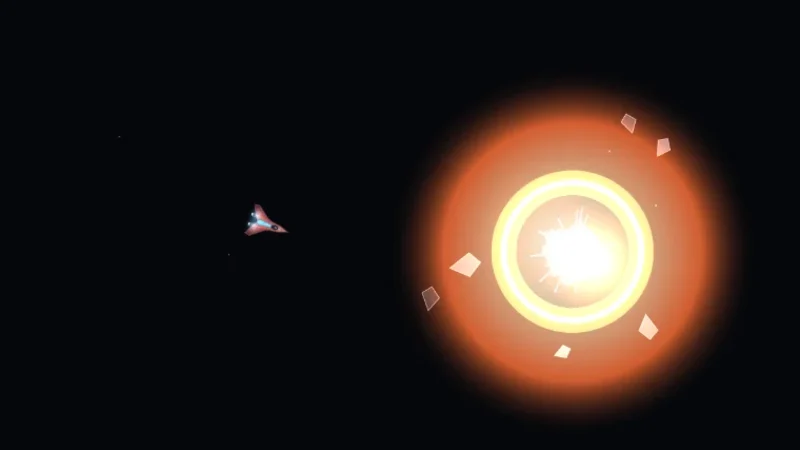
Meet a blast nose-first
A blast that hits you side-on sets you spinning. One that hits you square on the nose just pushes you
back, and you keep your heading.
 Capital ships
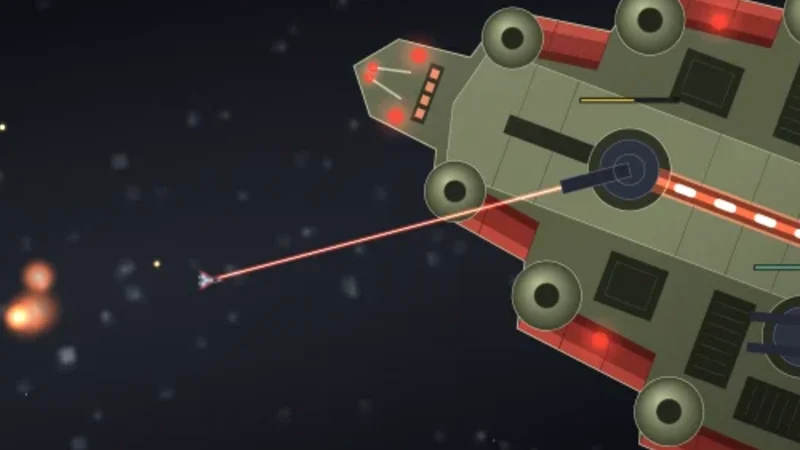
Weave, don't circle
A behemoth's beam can follow a steady turn. Changing direction is what breaks its lock.
 Ore
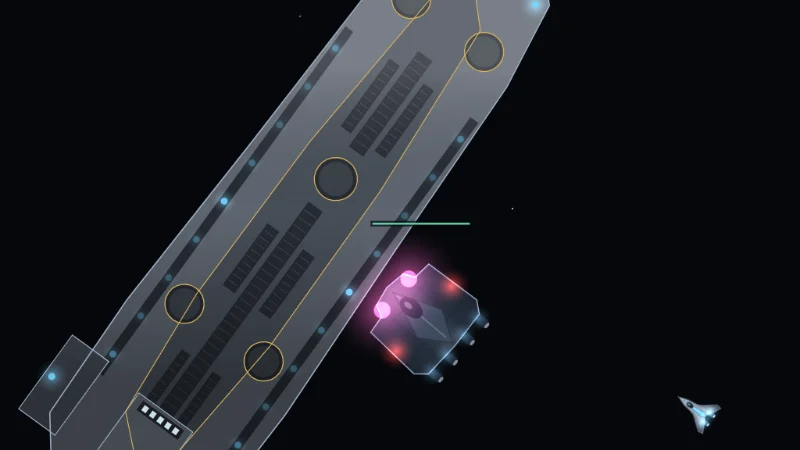
Shoot the miners
A Corp ship with flashing pink lights is carrying ore. Shoot it down and the ore spills out for you to
collect, and it never disappears. The easiest time to catch one is while it sits still unloading at the
collector.
 Ore
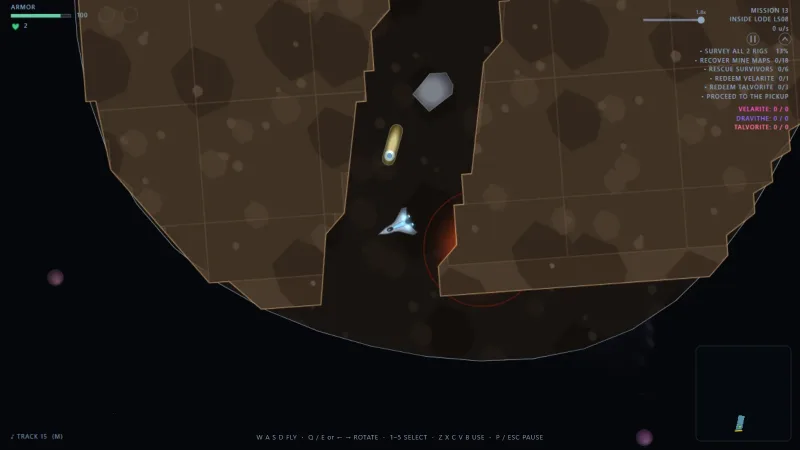
Stall a lode before you mine it
A Rig Staller works on lodes as well as rigs. Fire it at
the rock from outside and hold it there for a second and a half: the lode stops drifting and turning for
two minutes, so its walls stop coming at you while you cut your way to the ore. Do it before you go in,
since it can't stall the body you're inside.
 Rigs
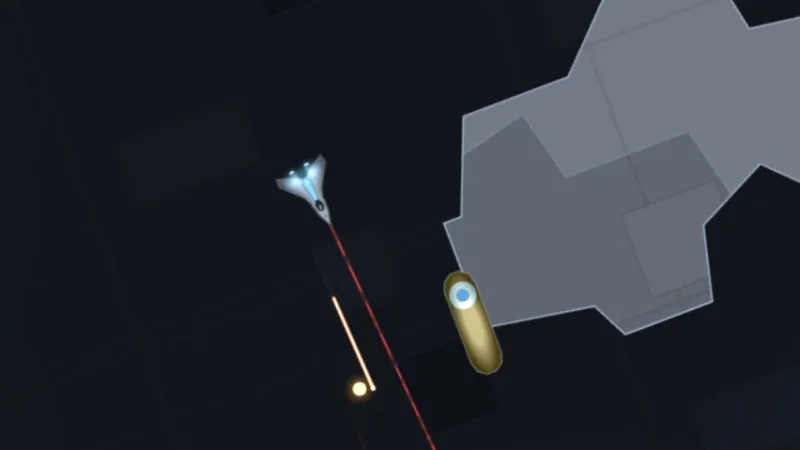
Canisters are ammunition
The yellow canisters bolted to corridor walls explode. Shoot one next to a wall gun or a pack of
hostiles, and nearby canisters can set each other off.
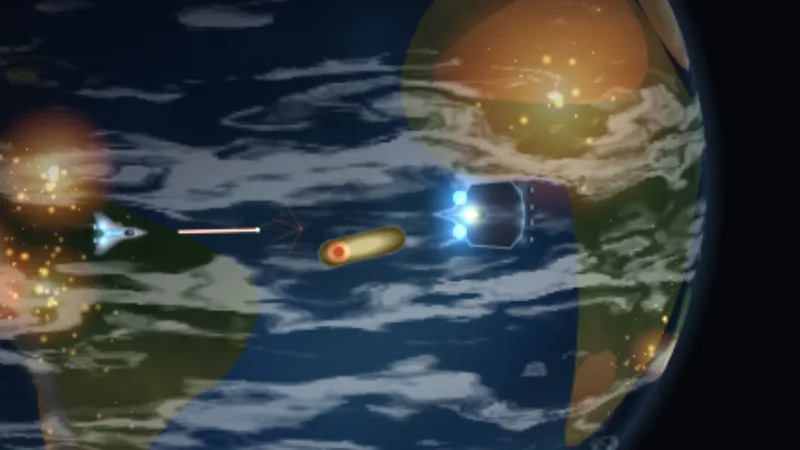 Rigs
Shoot junk into them
Your rounds shove the junk they hit, so keep firing at a piece and it picks up speed. A piece that slams
into a hostile hurts it. Canisters are even better: the first hit knocks one off its wall, every knock
costs it armor, and one driven into a pack of hostiles can go off among them. Hit the middle to send a
piece straight, since a shot to one end sets it spinning. A held charge lance pushes harder still, and the Magnetico accessory picks pieces up and throws them, crediting you with whatever they destroy.
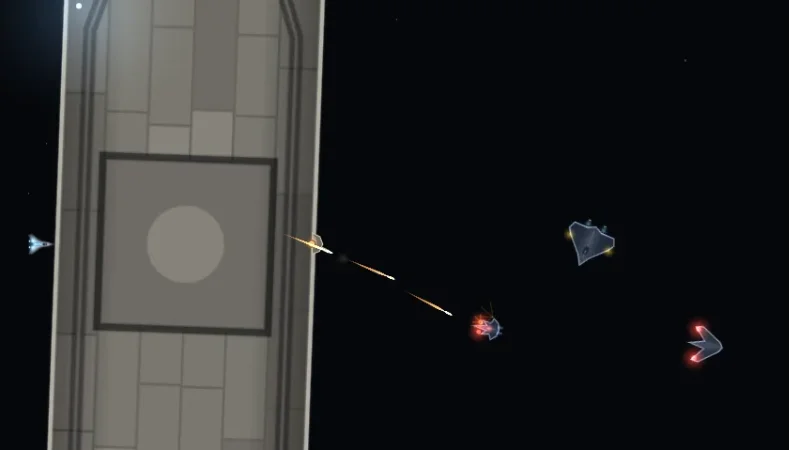 Open space
Hide behind a satellite
From mission 20, derelict satellites drift in open space, and every weapon stops on their hulls. Keep
one between you and the Corp and let it take the fire. It's also the best place out there for your
turrets: place a sentry or bastion beside one and it bolts to the hull, tougher than one left floating.
Put the turret on the side facing the fight and stay on the far side yourself. Just don't count on the
satellite forever, since every shot it stops comes off its armor.
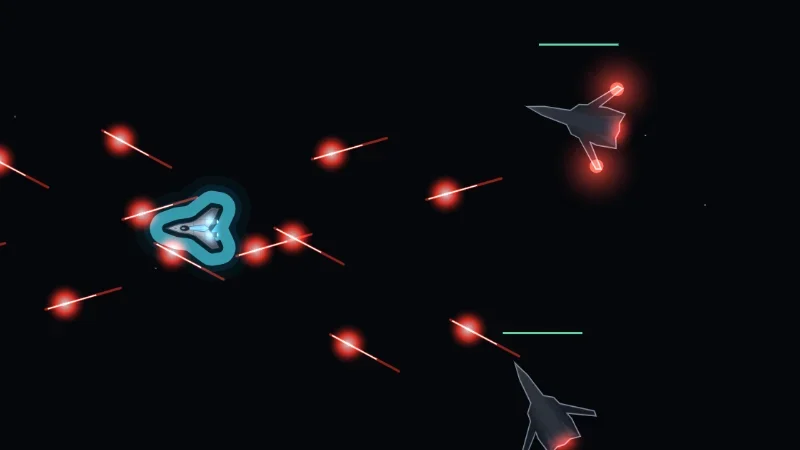 Powerups
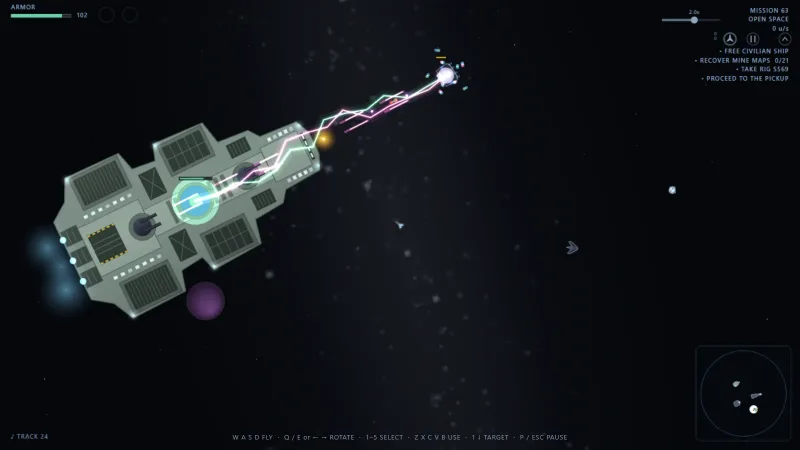
A cyan shield shoots back
The cyan shield throws bullets and bolts back the way they came.
 Allies
Don't turn on your own side
The Coalition notices when you damage or destroy its ships. A stray blast is one thing, but keep it up and
it will be dealt with. Every ally you destroy goes on your stats in red.
More details
There are two counts, one for capital ships and one for small ships. Either can set things off.
Capital ships (the Java and the Zena)
- Your first hit on each one is treated as an accident and counts as 1% at most.
- Warning: take 5% off one capital ship's hull, or destroy one. An air-raid siren sounds and the Coalition radios you to stop.
- Hostile for a minute: after the warning, take another 5% off any one of them, or destroy one.
- Hostile for good: do it a third time, during that minute or after it.
Small ships (escorts and repair craft)
- A ship counts as lost when you destroy it or take half its hull off it. Each ship counts once. Civilian ships don't count here: losing one already costs you the rescue.
- Warning: you've lost 25% of the mission's allied ships.
- Hostile for a minute: 30%, and at least 4 ships.
- Hostile for good: lose one more after they've turned.
While they're hostile
- Allied ships, and the Java's and Zena's guns, shoot at you, and their seekers chase you.
- Your rounds now hit them instead of passing through. Auto-fire still never picks an ally.
- Firing back is how a minute becomes the rest of the mission. Get away from them instead.
- If the minute runs out, they stand down. After that, any one more strike makes it permanent.
- You can still give your escorts orders, but they'll treat you as the enemy.
What it costs
- Damaging or destroying an ally never pays credits and never counts as a kill.
- Every ally you destroy is added to ALLIES DESTROYED on your stats, in red.
- Both counts start again from zero on your next mission.
 Ore
Mine to keep the Corp quiet
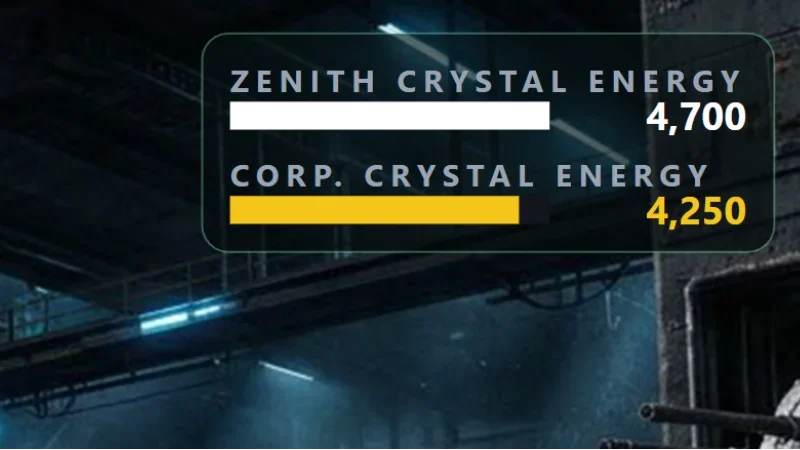
In an artifact hunt, the Corp only sends an extra capital ship if it's ahead in the
crystal energy race. If you keep level on energy, it doesn't come.
 Monitors
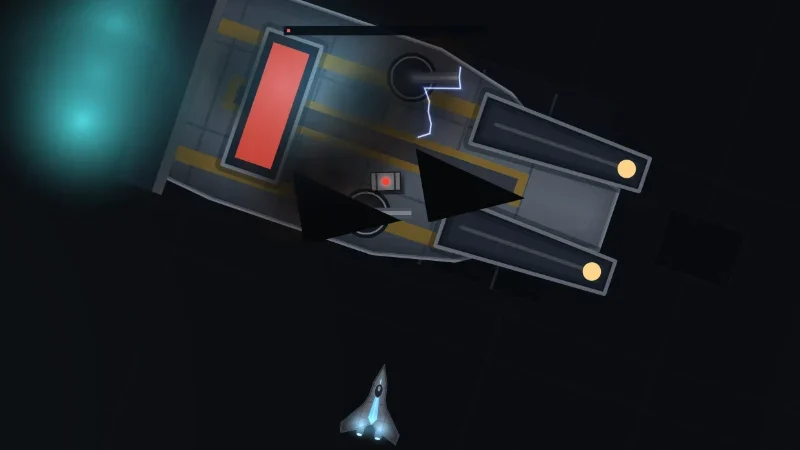
Once a monitor gives out, it can't move but its guns still work. Stay aboard and fight, or step out for
free, but don't wait too long.
 Campaign
Replays are free practice
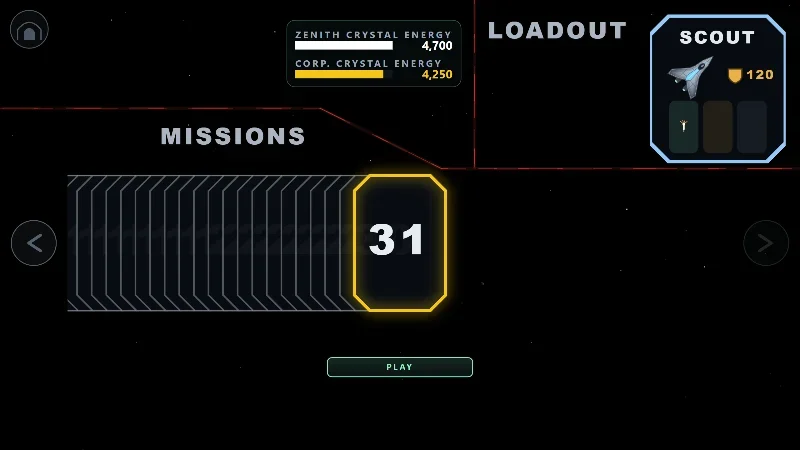
Replaying a mission you've already won costs nothing: you lose no lives, credits or items. A won
replay still counts toward your daily and weekly goals.
Retries and replays →